
HiPinny Journal
How to Design an Enamel Pin for Manufacturing
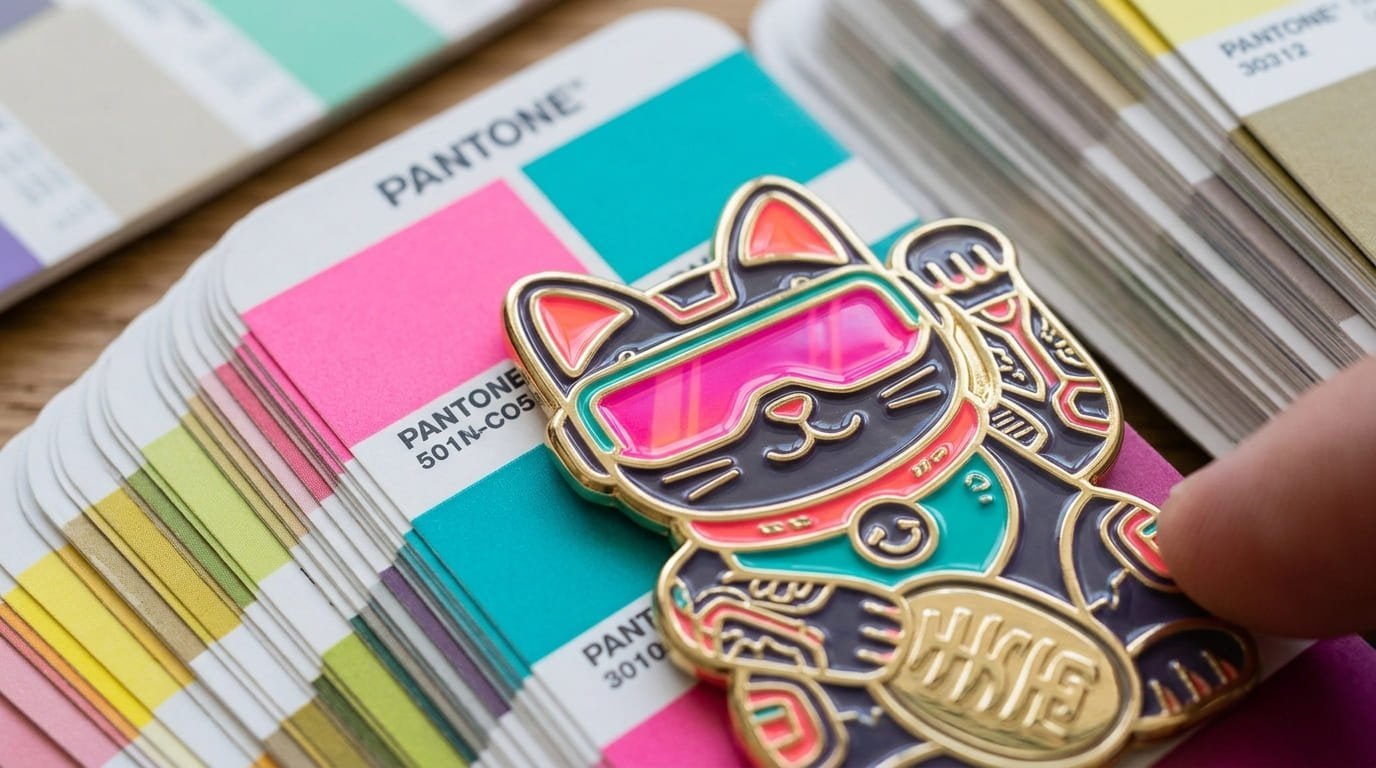
Designing an enamel pin is an exciting creative endeavor, but it comes with challenges that many first-time designers overlook. Successfully transitioning your artwork into a physical product requires an understanding of manufacturing constraints, material choices, and industry standards.1 Let’s dive into what goes into designing an enamel pin that’s optimized for production.
Designing an enamel pin for manufacturing means balancing your creative vision with technical production constraints, such as enamel fill limits, line thickness, and Pantone color matching. By accounting for these factors, designers can avoid costly revisions and guarantee a smooth production process.
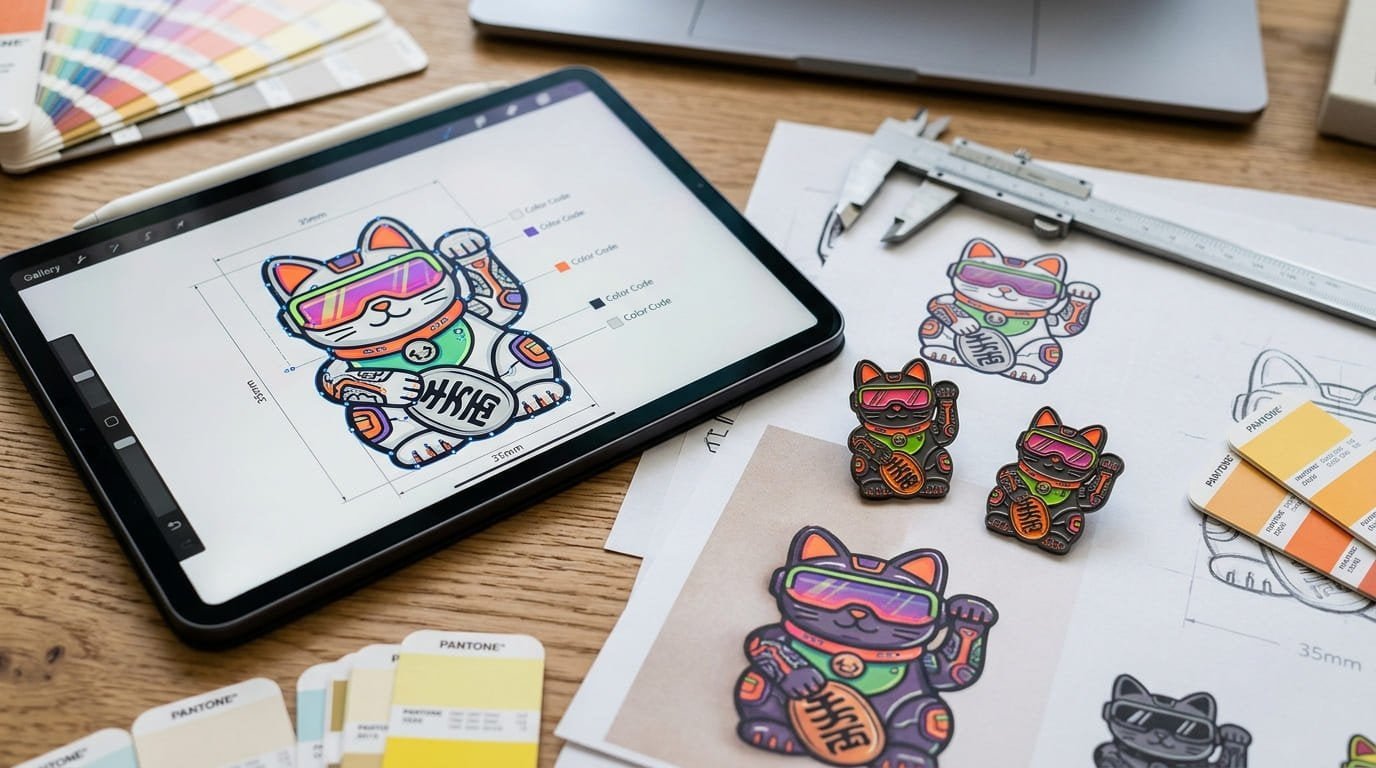
Creating a functional and beautiful enamel pin isn’t just about the artwork. Let’s explore key considerations—including structural details and practical tips—so your designs are production-ready and headache-free.
What manufacturing constraints should designers consider?
Design constraints often surprise first-time enamel pin designers. These include limitations in enamel fill, line thickness, plating options, and edge details—all of which determine whether a design can be produced successfully.
Manufacturing constraints affect your enamel pin design more than you’d expect. Line thickness determines durability, enamel fill is limited by surface size, and plating materials influence the final finish. Ignoring these details can result in production delays or design adjustments.

When designing for manufacturing, here are some of the key physical limitations to keep in mind:
Line Thickness and Detail Limitations
Every enamel pin manufacturing process has tolerances for the thickness of raised metal lines. Thin lines below 0.2 mm can weaken the design, potentially breaking during production or regular use.2 Designs with excessive detail can also complicate die-casting, where ultra-fine features aren’t always feasible.
Tips for success:
- Keep raised metal lines above 0.2 mm. Thicker lines maintain integrity during production.
- Simplify overly intricate features or substitute details with broader, bold shapes for visibility.
Enamel Fill and Recess Depths
Enamel filling involves pouring liquid enamel into recessed areas of the metal mold. Wide spaces can ensure a smoother fill, whereas narrow or overly deep recesses might lead to uneven surfaces or fill gaps.3
Best practices for enamel fill:
- Avoid excessive gradients or large recessed cavities.
- Ensure distinct boundaries for colored areas to avoid bleeding between sections.
Plating Material Choices and Impacts
Plating refers to the metal coating applied to the pin’s surface.4 Common options include nickel, gold, or black plating, each offering a distinct aesthetic. However, certain plating finishes add dimensional constraints. For example, soft enamel pins need raised metal edges to confine enamel, while hard enamel pins are polished flat.
Understanding Edge Limitation and Shape Complexity
Custom shapes can make your pin stand out but might increase production difficulty. Pointed edges and irregular curves can compromise structural integrity during cutting processes. Designers should confirm complex shapes are feasible or opt for smoother outlines.
Checklist for Structural Design Readiness
| Design Element | Recommended Specification | Common Pitfall |
|---|---|---|
| Line Thickness | ≥ 0.2 mm | Thin lines (< 0.2 mm) lead to weak areas |
| Enamel Fill Depth | Even shallow fill surface | Deep fills unevenly cure |
| Plating Finish | Match aesthetic with function | Conflicting finishes |
| Custom Shapes | Smooth edges | Overly sharp curves lead to cuts |
How should designers handle color matching?
Color matching is one of the biggest misconceptions for enamel pin design—digital color codes don’t carry over perfectly. A reliable system like Pantone ensures consistent hues across production.
Enamel pin manufacturers use Pantone colors, rather than digital RGB or CMYK codes, to replicate designs. Pantone ensures consistent hues, but pin enamel may still vary slightly in appearance due to material properties and light reflection.5
The Pantone Color System
Pantone’s standardized codes let manufacturers achieve consistent color reproduction.6 While digital designs often feature gradients or non-standard hues, translating them to Pantone minimizes misalignments.
Steps for design adjustments:
- Pick Pantone color codes for key features.
- Swap digital gradients for flat color blocks wherever possible.
- Confirm enamel finish preferences, like glossy versus matte.
Working with Enamel Color Variations
Even with Pantone matching, enamel colors can look different based on lighting, texture, and material finish. Adjusting design expectations helps you account for these subtle differences in final production.
What about the reverse side of the pin?
The back side of an enamel pin often gets overlooked, but it plays a critical role in both functionality and branding. Make it purposeful.
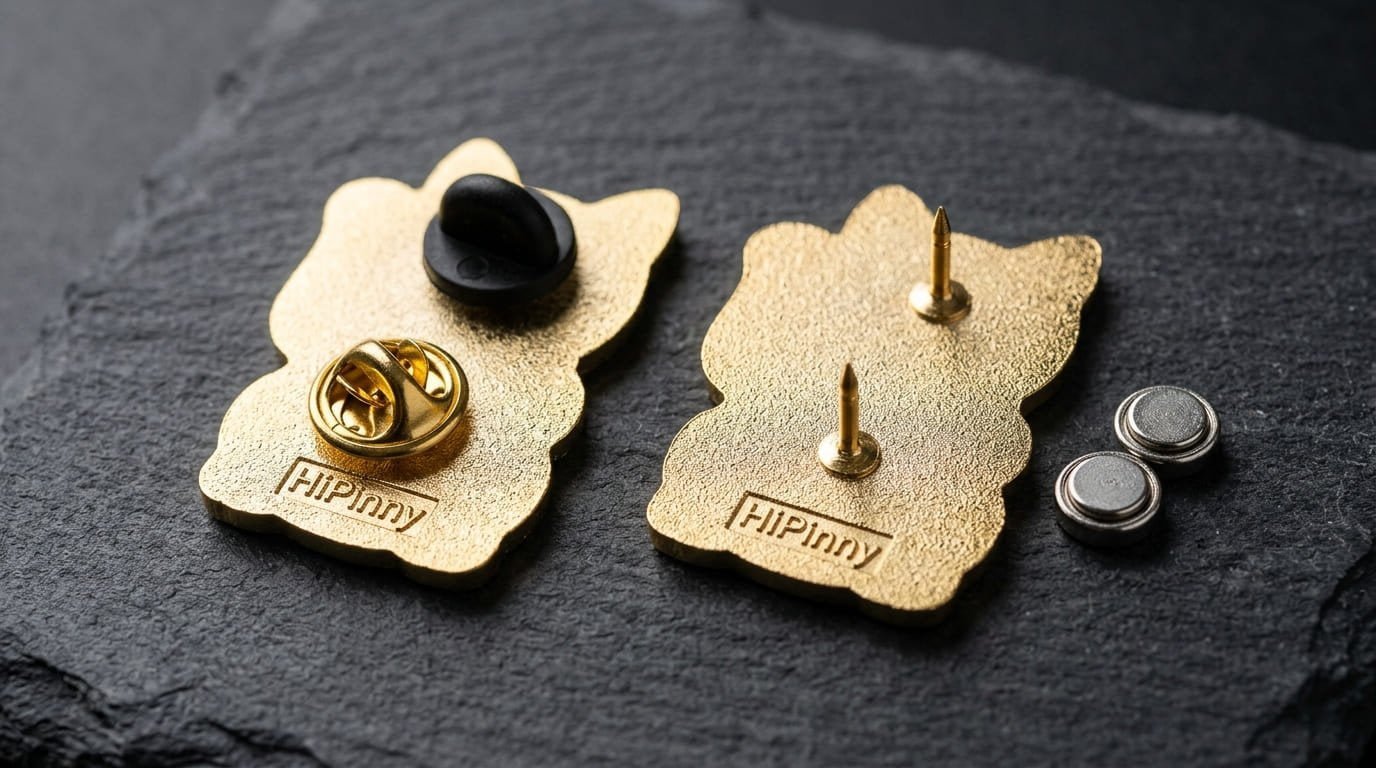
The reverse side of an enamel pin can include unique backing designs, logo engraving, or attachment details. Consider backing types (e.g., butterfly clutch or rubber) to tie functionality to your vision.
Backing Attachment Choices
Different backing options support different use cases:
- Butterfly clutches provide a secure hold for professional pins or badges.
- Rubber backings are softer and better suited for casual wear.
- Magnetic backings create wearable flexibility without piercing clothing.
Branding Opportunities on the Reverse Side
Add personal branding touches—like laser-engraved logos or unique stamps—onto the back surface.7 This small space is perfect for reinforcing your brand without impacting the design's front.
Customer Success Story: Solving Production Headaches in Pin Design
One of my clients, an independent pin designer, approached me with a highly detailed design featuring intricate linework and digital gradients. Upon reviewing the design, I recommended increasing line thickness from 0.1 mm to 0.25 mm and simplifying gradients into bold Pantone colors. These adjustments saved production time and avoided costly revisions, helping them receive flawless results in their very first order.
Frequently Asked Questions
Can I use any colors I want in my design?
No, you should use Pantone color codes to match enamel hues accurately and avoid misalignment. Gradient designs or non-standard RGB colors must be simplified for manufacturing.8
Do hard enamel and soft enamel pins use the same design layers?
Not exactly. Soft enamel pins need raised metal borders to contain enamel fills, while hard enamel pins are polished flat. Factor this into design specifications.
What is the minimum thickness for metal lines?
Metal lines should be at least 0.2 mm thick to maintain structural integrity and ensure durability. Thin lines risk breaking during production or regular use.
Conclusion
Successful enamel pin design starts with understanding manufacturing constraints like line thickness, enamel fill, and Pantone color matching. Accounting for both aesthetic and practical details—including the pin’s reverse side—ensures your design transitions seamlessly from digital artwork to physical product.
Ready to make your ideas production-ready? Contact us to review your enamel pin designs and get expert manufacturing support.
"The Importance of Material Selection", https://www.top-seiko.us/services/the-importance-of-material-selection/. Educational resources on product design emphasize the importance of aligning creative concepts with manufacturing constraints, material properties, and industry standards to ensure successful production. Evidence role: general_support; source type: education. Supports: Understanding manufacturing constraints, material choices, and industry standards is crucial for transitioning artwork into physical products.. ↩
"what thickness of lines are too small? what enamel areas ...", https://www.reddit.com/r/Pins/comments/o9p47v/first_time_designer_what_thickness_of_lines_are/. Industry guidelines from enamel pin manufacturers recommend a minimum line thickness of 0.2 mm to ensure durability and prevent breakage. Evidence role: statistic; source type: institution. Supports: Thin lines below 0.2 mm are prone to breaking during enamel pin production or use.. ↩
"Impact of Demineralization Time on Enamel Microhardness ...", https://pmc.ncbi.nlm.nih.gov/articles/PMC11931587/. Studies on enamel pin production show that wide recesses facilitate even enamel distribution, while narrow or deep recesses can lead to uneven surfaces or gaps. Evidence role: mechanism; source type: research. Supports: Recess dimensions influence the quality of enamel fill in pin manufacturing.. ↩
"Plating", https://en.wikipedia.org/wiki/Plating. According to encyclopedic sources, plating is the process of applying a metal coating to a surface to enhance its appearance, durability, or corrosion resistance. Evidence role: definition; source type: encyclopedia. Supports: Plating is the process of applying a metal coating to a surface.. ↩
"Correlation between alteration of enamel roughness and tooth ...", https://pmc.ncbi.nlm.nih.gov/articles/PMC6174023/. Studies on enamel pin production confirm that while Pantone ensures color consistency, material properties and light reflection can lead to minor variations in the final product. Evidence role: mechanism; source type: research. Supports: Pantone provides consistent hues, but material properties and light reflection can cause slight color variations in enamel pins.. ↩
"Pantone Color Systems | Universal Language of Color", https://www.pantone.com/na/en-us/color-systems/pantone-color-systems-explained?srsltid=AU7gw4X2tVLyDm9M5Fqa2LaZSpy6qj0deDNCqzhlWKWsUfImZcsGIXiQ. Educational materials on color theory and manufacturing highlight that Pantone’s standardized codes are widely used to ensure consistent color reproduction across different materials and processes. Evidence role: general_support; source type: education. Supports: Pantone codes enable consistent color reproduction in manufacturing.. ↩
"How I Make Enameled Pins (And Other) With a Fiber Laser ...", https://www.reddit.com/r/Laserengraving/comments/1v64llh/how_i_make_enameled_pins_and_other_with_a_fiber/. Studies on product branding suggest that adding features like laser-engraved logos or unique stamps to the reverse side of enamel pins can improve brand recognition and customer engagement. Evidence role: general_support; source type: research. Supports: Personal branding on the reverse side of enamel pins enhances their marketing and customer appeal.. ↩
"CMYK? : r/Pins", https://www.reddit.com/r/Pins/comments/1ipa9jb/cmyk/. Research on enamel pin production processes indicates that gradients and non-standard RGB colors are difficult to replicate due to the limitations of enamel filling and color matching techniques. Evidence role: mechanism; source type: research. Supports: Gradients and non-standard RGB colors are challenging in enamel pin manufacturing and often need simplification.. ↩