
HiPinny Journal
How to Prevent Glitter Colors From Mixing on Enamel Pins
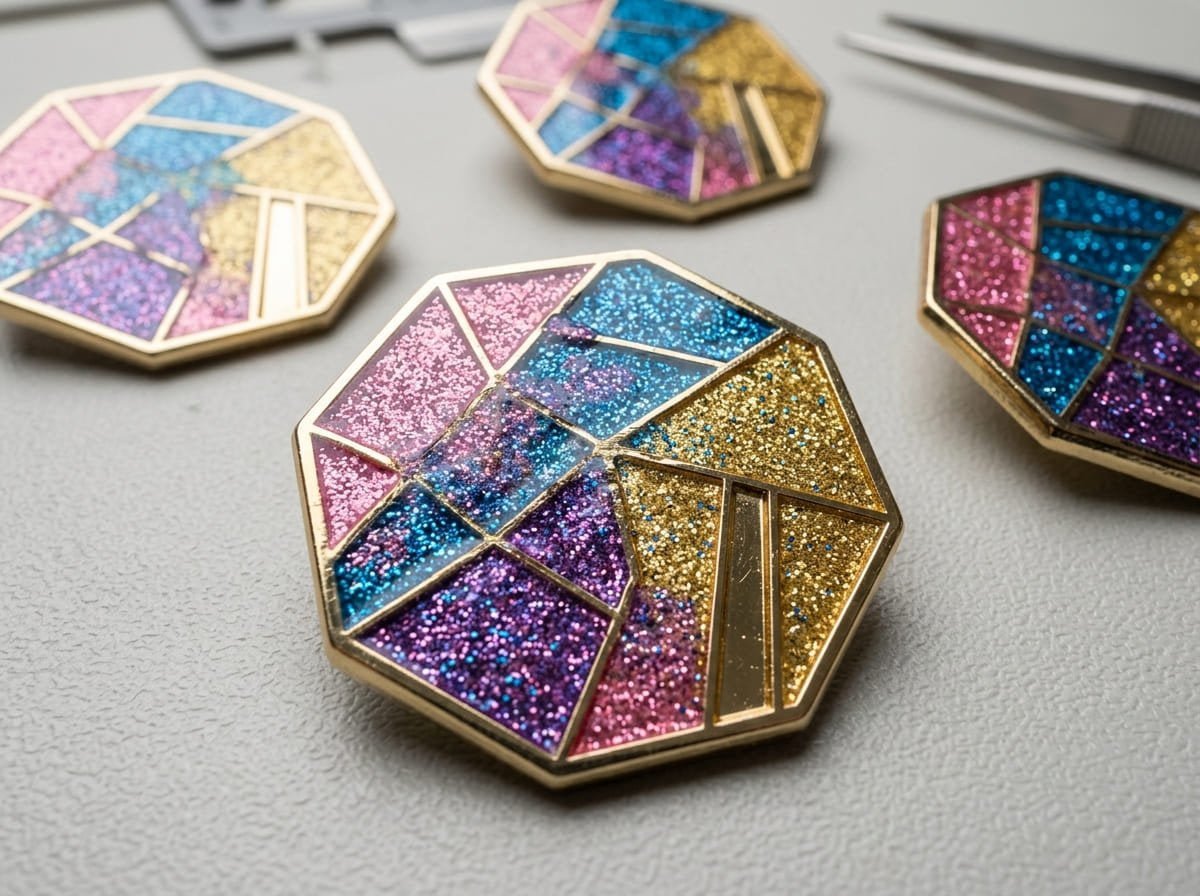
Glitter enamel pins can elevate your designs with sparkle and glam, but a common issue many designers encounter is unwanted glitter color mixing1. This often occurs when glitter areas overlap or lack sufficient space for precision manufacturing. Thankfully, with simple design adjustments and better understanding of production constraints, you can avoid this problem entirely.
To prevent glitter colors from mixing on enamel pins, ensure adequate spacing between glitter areas, clearly define boundaries in your design files, and communicate with your manufacturer about filling steps for different glitter colors. Small adjustments during the design phase can preserve your aesthetic goals while meeting production standards.
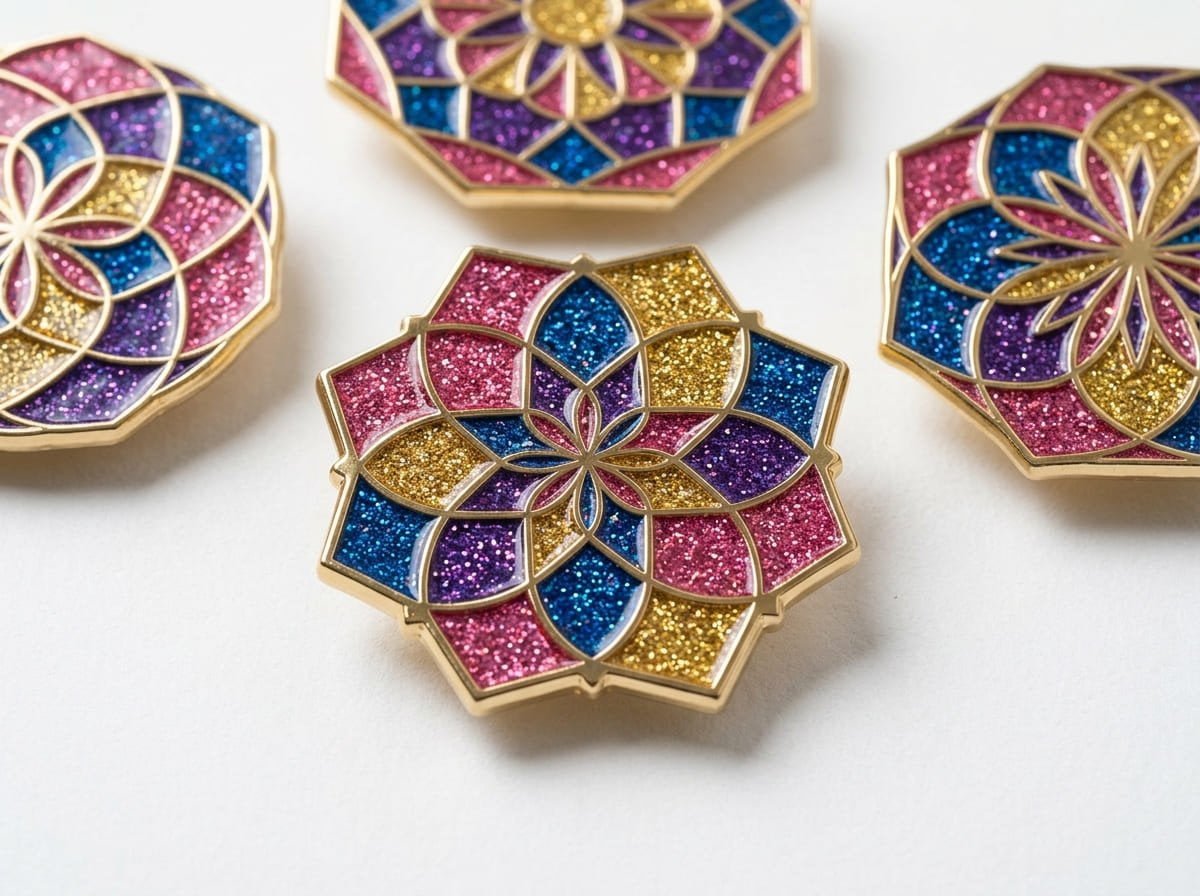
Glitter mixing is often caused by unrealistic design details or manufacturing oversights. Let’s dive into practical tips to stop this issue before it starts, ensuring your enamel pins come out as dazzling as intended.
Why does glitter color mixing happen?
Unwanted glitter mixing stems from design gaps and manufacturing realities.
Small overlaps, narrow spaces, or designs that don’t account for filling techniques cause glitter areas to bleed together. This creates muddy or blended colors, ruining crisp design details. Manufacturers rely on distinct boundaries and adequate spacing to avoid color contamination during production.
Dive deeper: Understanding the manufacturing process
Glitter mixing occurs most often during the filling stage of enamel pin production. Sparkling enamel requires liquid resin mixed with glitter particles to be carefully applied within recessed areas. For multiple glitter colors, individual filling steps are essential to keep colors separate.
However, if your glitter areas in the design lack enough space or distinct boundaries, the resin may flow into adjoining colors2 before it hardens. This creates unwanted blending. Problems like this are preventable with proper design strategies.
Common reasons for glitter mixing:
- Overlapping glitter areas: Designs with glitter sections too close together risk resin overflow.
- Thin or narrow borders: Boundaries that are too slim won’t stop resin from spilling into adjacent sections.
- Insufficient communication: Designers often assume manufacturers can fix poor file layouts, but this isn’t always the case.
Understanding these causes equips you with the knowledge to adjust your designs appropriately.
How can design adjustments prevent glitter mixing?
To prevent color contamination, focus on creating clear and intentional design layouts.
The key to resolving glitter mixing lies in thoughtful spacing, boundaries, and layered communication with your manufacturer regarding filling requirements. Prioritize separating glitter colors with physical barriers and revise overly thin sections that risk mixing during the production process.
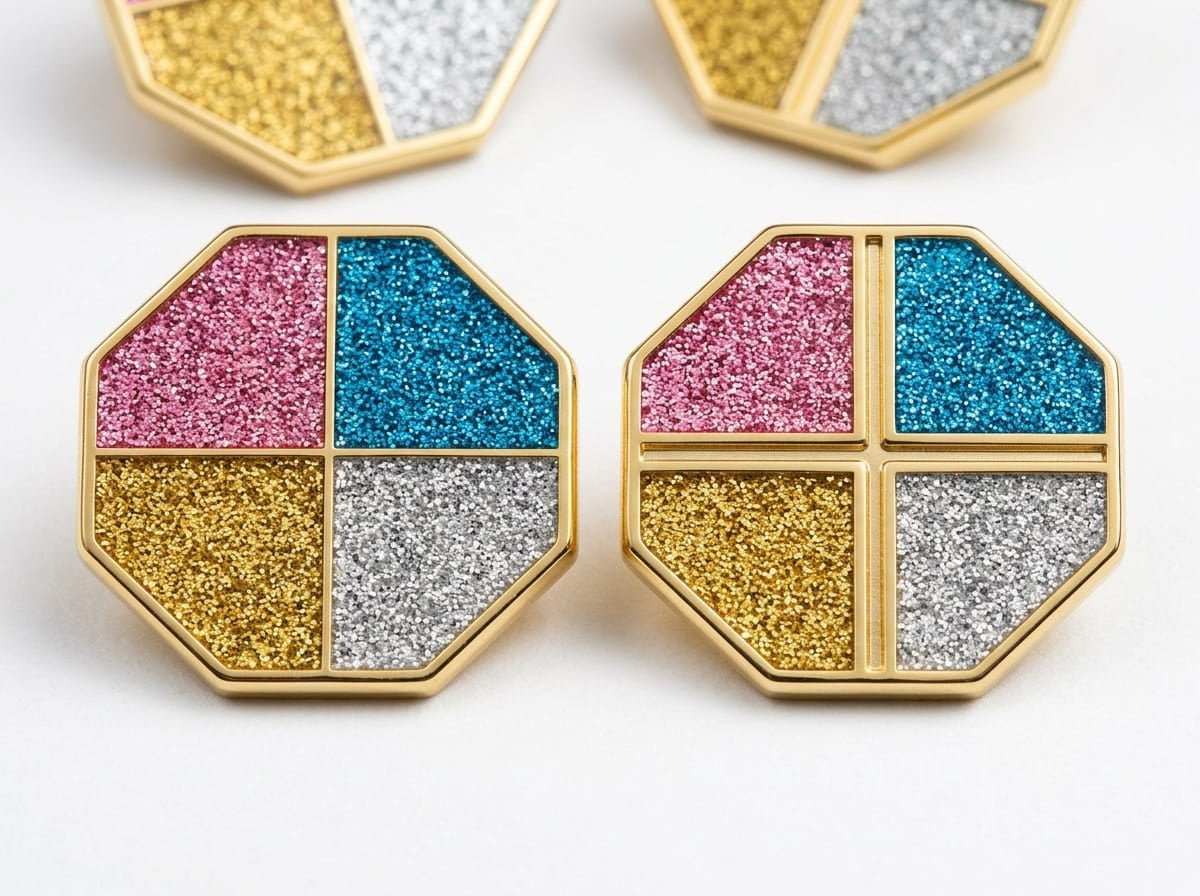
Dive deeper: Best practices for glitter designs
When preparing your glitter pin designs, implement the following adjustments:
-
Add bold borders between glitter sections
Consider thicker raised metal lines or recessed grooves3 to physically divide glitter areas. A raised metal wall ensures that filling liquid stays contained, especially during precision resin applications. -
Ensure minimum spacing between glitter colors
Leave at least 0.5mm–1mm of non-glitter material4 between glitter enamel sections. This creates enough room to prevent bleeding. -
Favor defined edges over blurred transitions
Avoid gradient or "soft-edge" glitter effects unless you’re okay with unpredictable mixing. Manufacturers don’t have precise control over blending. -
Avoid overly narrow glitter areas
Glitter requires a specific resin volume to shine properly. Thin sections may pose risks both for proper sparkle and for unwanted resin overflow. -
Include clear-layered artwork files
Communicate glitter placements clearly in layered design files such as .AI or .PSD. Organize separate labels for glitter areas, plating, and standard enamel zones.
What role does collaboration with the manufacturer play?
Collaborating with your manufacturer is critical to achieving flawless glitter pins.
Communicate your expectations clearly, ask how they handle glitter colors during filling5, and provide detailed artwork files. A good manufacturer ensures production aligns with your design, but only if you provide the necessary guidance upfront.
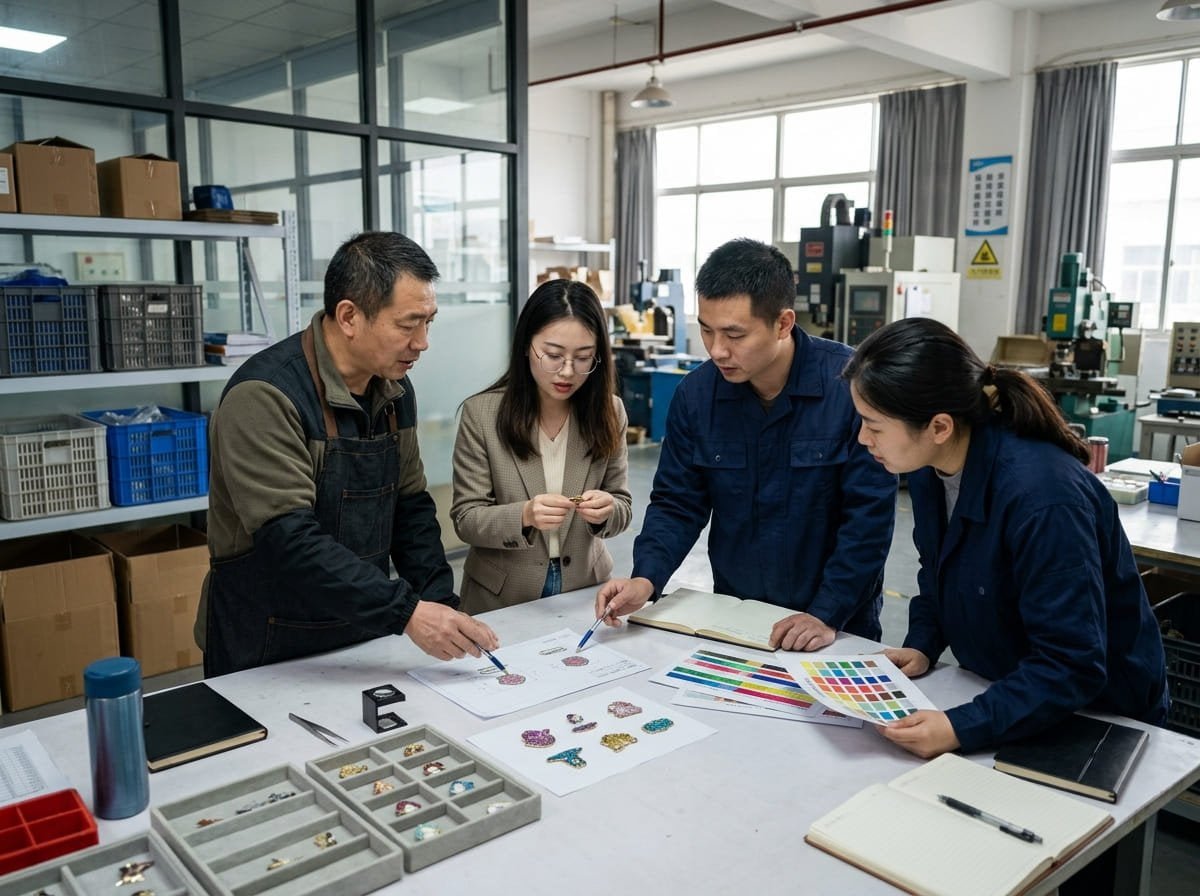
Dive deeper: Tips for effective communication
Manufacturers appreciate clear instructions6 to avoid misunderstandings. Here’s how to bring them into your design process:
-
Request feedback on your design file
Ask the manufacturer to check if your glitter separations align with their technical capabilities. They may suggest design tweaks. -
Clarify glitter placement in your order notes
Explicitly outline which areas require glitter and the specific colors used. -
Discuss any weaknesses in prior designs
If past designs had glitter mixing issues, share images and ask what corrections may help. -
Ask how they separate colors during filling
Manufacturers often use sequential filling techniques, applying each glitter color one at a time. Understanding their steps may inform your decisions during design.
A collaborative approach fosters trust and reduces production risks.
Examples of common glitter issues and solutions
Case 1: Overlapping glitter areas
Problem: A pin design with pink and blue glitter zones lacked separation, causing purple blending between colors.
Solution: The designer revised artwork to add raised metal dividers creating crisp outlines. The pin was successfully re-produced with clear glitter sections.
Case 2: Thin glitter boundaries
Problem: Glitter-filled borders on a text design were too narrow, causing resin spillover into non-glitter zones.
Solution: The lettering was redrawn with thicker borders and additional spacing. This preserved visual clarity while maintaining glitter impact.
Case 3: Miscommunication about glitter colors
Problem: A file submitted for production included unmarked glitter zones, leading to guesswork by the manufacturer.
Solution: The designer provided updated layered files explicitly labeling glitter areas. Later versions had no mixing issues.
These examples show how small adjustments and proactive communication result in better outcomes.
Frequently Asked Questions
What is the minimum spacing required to prevent glitter mixing?
At least 0.5mm–1mm of separation between glitter areas is recommended. This ensures adequate resin containment and avoids bleeding into adjacent zones.
Can glitter areas touch without blending?
Glitter areas should be separated by physically raised borders, such as metal outlines or etched grooves in the design. Avoid leaving direct-touch zones without barriers.
Is gradient glitter achievable without mixing?
Gradient glitter effects are difficult because resin tends to flow unpredictably. If gradients are critical, discuss potential experimental techniques with your manufacturer.
Does every pin manufacturer handle glitter the same way?
No, not all manufacturers approach glitter application identically. Ask for samples or specifics on their production process to ensure compatibility with your design.
Can I salvage a pin design if colors have already mixed?
Fixing mixed colors after production is not possible. Adjust your design proactively to avoid defects or discuss reworking options if production errors occur.
Conclusion
Preventing glitter color mixing on enamel pins comes down to thoughtful design and collaborative communication with your manufacturer. By ensuring adequate spacing between glitter zones, adding defined boundaries, and providing precise artwork files, you can preserve the sparkle and clarity of your pin designs without compromise. Reach out to your enamel pin supplier to confirm their capabilities and start refining your designs today!
"Glitter pins question : r/EnamelPins - Reddit", https://www.reddit.com/r/EnamelPins/comments/1uw2n3p/glitter_pins_question/. Research on enamel pin manufacturing highlights that overlapping glitter areas and insufficient spacing can lead to color mixing during the resin filling process. Evidence role: general_support; source type: research. Supports: Unwanted glitter color mixing is caused by overlapping glitter areas or insufficient spacing during manufacturing.. Scope note: The source may focus on general manufacturing practices and not specific to all manufacturers. ↩
"Why did 5 out of 6 resin pours burst and overflow? - Facebook", https://www.facebook.com/groups/770399384890305/posts/1224725969457642/. Studies on resin behavior in manufacturing processes indicate that inadequate spacing or boundaries can lead to resin overflow and color mixing. Evidence role: mechanism; source type: research. Supports: Insufficient spacing or boundaries in enamel pin designs can cause resin to flow into adjoining colors before hardening.. Scope note: The findings may depend on specific resin types and manufacturing conditions. ↩
"How to prevent resin overflow in figurine mold sections?", https://www.facebook.com/groups/770399384890305/posts/1357921079471463/. Educational materials on enamel pin design suggest that raised metal lines and recessed grooves are effective in containing resin within specific areas. Evidence role: mechanism; source type: education. Supports: Raised metal lines or recessed grooves can help divide glitter areas and prevent resin overflow.. Scope note: The effectiveness may vary depending on the precision of the manufacturing process. ↩
"How do I keep fine glitter from getting everywhere and ...", https://www.facebook.com/groups/modpodgeofficial/posts/1058413882645826/. Research on enamel pin design standards recommends a minimum spacing of 0.5mm–1mm to prevent resin overflow and glitter mixing. Evidence role: statistic; source type: research. Supports: A spacing of 0.5mm–1mm between glitter enamel sections is recommended to prevent bleeding.. Scope note: The recommendation may vary based on specific manufacturing techniques. ↩
"Should glitter enamel enhance night sky enamel pin design? - Facebook", https://www.facebook.com/groups/enamelpingroup/posts/2203884416719968/. Research on enamel pin manufacturing processes indicates that sequential filling is a common method for applying multiple glitter colors without mixing. Evidence role: mechanism; source type: research. Supports: Manufacturers often use sequential filling techniques to apply glitter colors one at a time.. Scope note: The method may not be universally adopted by all manufacturers. ↩
"Manufacturing Best Practices | CPSC.gov", https://www.cpsc.gov/business--manufacturing/business-education/business-guidance/BestPractices. Industry guidelines emphasize the importance of clear and detailed instructions to ensure accurate manufacturing of custom enamel pins. Evidence role: expert_consensus; source type: institution. Supports: Clear instructions help manufacturers avoid misunderstandings during enamel pin production.. Scope note: The recommendation may vary depending on the specific manufacturer’s processes. ↩